
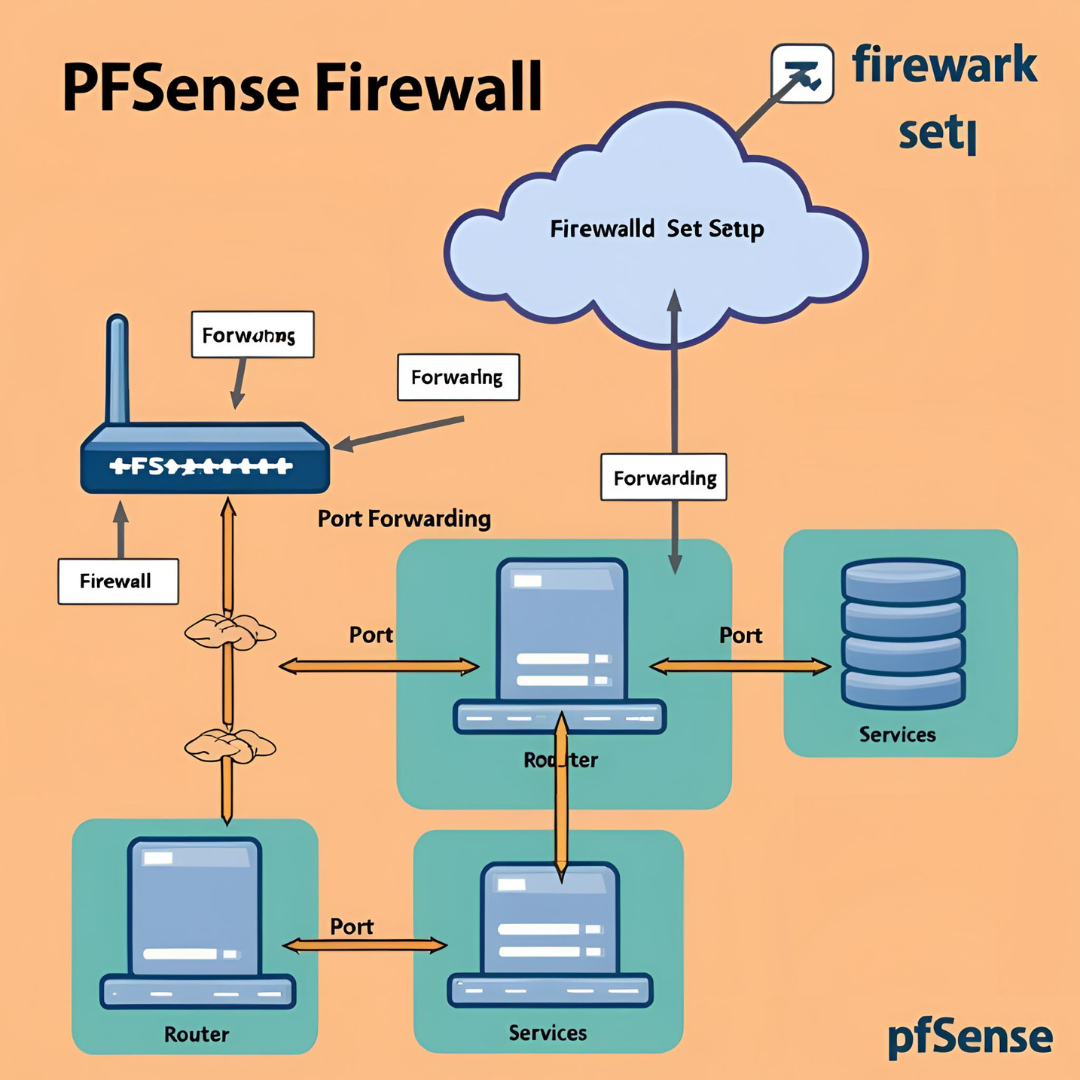
Port forwarding is an essential function that enables external devices to access specific services hosted within your network. pfSense, a powerful open-source firewall, provides a user-friendly method for setting up port forwarding while ensuring security remains intact. This guide walks you through the process of configuring port forwarding on a pfSense firewall step by step.
Requirements
Before proceeding, ensure you have the following:
- A functioning pfSense firewall setup.
- An active external (WAN) IP address.
- A local network device hosting a service that requires external access (e.g., a web or game server).
Step-by-Step Configuration of Port Forwarding in pfSense
Step 1: Log Into the pfSense Web Interface
- Open your preferred web browser and access the pfSense dashboard by visiting
https://192.168.1.1. - Enter your administrator credentials to log in.
Step 2: Navigate to the NAT Configuration Page
- Go to Firewall > NAT.
- Click the Port Forward tab.
- Click the Add button to create a new forwarding rule.
Step 3: Define the Port Forwarding Rule
- Interface: Choose
WAN. - Protocol: Select the relevant protocol (TCP, UDP, or both). For web servers, use TCP.
- Destination: Choose
WAN Address. - Destination Port Range: Specify the external port to be forwarded (e.g., 80 for HTTP, 443 for HTTPS).
- Redirect Target IP: Enter the internal IP address of the device hosting the service (e.g.,
192.168.1.100). - Redirect Target Port: Input the port number on the internal device that is running the service (e.g., 80 for a web server).
- Description: Provide a clear label (e.g., “Web Server Forwarding Rule”).
- Filter Rule Association: Choose
Add associated filter ruleto automatically allow the traffic through the firewall. - Click Save, then Apply Changes.
Step 4: Enable NAT Reflection (Optional)
For internal network devices to access the service using the public IP address, enable NAT Reflection:
- Navigate to System > Advanced > Firewall & NAT.
- Scroll down to the NAT Reflection mode for port forwards section.
- Select
Pure NATorEnable NAT + Proxy. - Click Save, then Apply Changes.
Step 5: Validate the Port Forwarding Configuration
To confirm successful setup:
- From an external network, try accessing the service using your public IP and designated port.
- Use an online port checker to verify whether the port is open.
Troubleshooting Tips
- Review firewall rules: Ensure the created rule allows external traffic.
- Check ISP restrictions: Some ISPs block specific ports; try a different port if needed.
- Confirm service availability: Ensure the internal device is running and properly configured.
- Avoid double NAT issues: If using another router, ensure it does not have conflicting NAT settings.
Conclusion
Properly configuring port forwarding in pfSense enables secure access to internal services from external networks. By following this guide, you can ensure your setup is both functional and secure. Always monitor access logs and implement additional security measures where necessary to prevent unauthorized access.